🏡 Homelab I: Intro, Hardware and Proxmox install
👋 Hey y’all, welcome to the start of my homelab (or, the latest iteration of it). I’m documenting my homelab setup as a helpful guide for others to learn, detailing some of the annoying issues I encountered and some of the duct tape solutions. These are also backup instructions for when I inevitably scrap this homelab, rebuild, and forget how I did everything.
This series will be centered around the setup and automation of a Promox cluster comprised of three very different machines. The virtualization cluster will house a variety of workloads, including:
- Kubernetes/OpenShift cluster(s)
- Media servers (Jellyfin)
- Network attached storage (TrueNAS Scale)
- Adblocker (Pi-hole)
- Proxy servers, web apps, minecraft and more
The goal is to keep the hosts as appliance-like as possible, and have most actions reproducable via automation. All of the relevant code will be available on robherley/homelab, feel free to contribute.
In this first part, I’ll go over the hardware, some minor hacks, and the initial baremetal Proxmox install.
# Hardware

# Dell Poweredge r720xd
- CPU: 2 x Intel Xeon (16) @ 2.50GHz
- Memory: 16 x Kingston 8GB DDR3-1600
- Storage:
- 1 x SATA Samsung Evo 850 500GB SSD
- 2 x SATA Crucial MX500 1TB SSD
- 9 x SATA Seagate Constellation 1TB HDD
- 2 x SAS Seagate Constellation 1TB HDD
# Intel NUCi7BEH
- CPU: Intel i7-8559U (8) @ 4.50GHz
- Memory: Mixed 32GB (16x2) DDR4-2666
- Storage:
- Crucial m.2 1TB SSD
# Intel 2000 Family JBOD
- Connected to r720xd via Intel LSI HBA.
- Storage: (Total capacity of 12 drives)
- 4 x Seagate IronWolf 4TB NAS HDD
# Raspberry Pi 3 Model B
- CPU: Quad Core 1.2GHz Broadcom BCM2837
- Memory: 1GB RAM
- Storage:
- 8GB Micro SDHC
# Rack Components
# Networking
Unfortunately, I do not have dedicated networking hardware yet. I’m using the Verizon G3100 for now. The Raspberry Pi is running Pi-hole for custom DNS and it also handles DHCP.
# Hacks
# Flashing RAID controller
For my homelab I decided to use ZFS, a software-based RAID. Unfortunately, the included controller with the Poweredge r720xd is expecting to always use a hardware RAID-based virtual disk setup. In order to force the included RAID controller to allow individual use of each disk, it needs to be flashed into IT mode. Fortunately, the folks at Fohdeesha have amazing guides for flashing the firmware on all kinds of RAID controllers, including the PERC H710 in this r720xd. After disconnecting the RAID battery, live booting into DOS and Linux images and few shell commands, I was ready to go.
# LSI and Seagate headache
Luckily, the Intel branded LSI controller used as an HBA can be configured in JBOD mode, so it did not require any flashing to connect the r720xd and the Seagate drives. But, when testing some zpools I noticed a tremendous amount of blk_update_request I/O errors from the kernel. Turns out, there’s a spinup/down issue with the Seagate Ironwolf drives and some LSI controllers. Specifically when the disks go into standby mode there are some delays for them to spin up, resulting in the blk_update_request I/O errors I was seeing in the kernel.
First fix attempt was to force some settings in hdparm:
- disabling the standby timeout (
hdparm -S 0 <disk>) - disabling the advance power management setting (
hdparm -B 255 <disk>).
In addition, Seagate has a special drive utility called SeaChest, I followed this guide from a user on the Unraid forum. Within that guide, there’ll be instructions to disable EPC and low current spinup, which helped users resolve the drive issues.
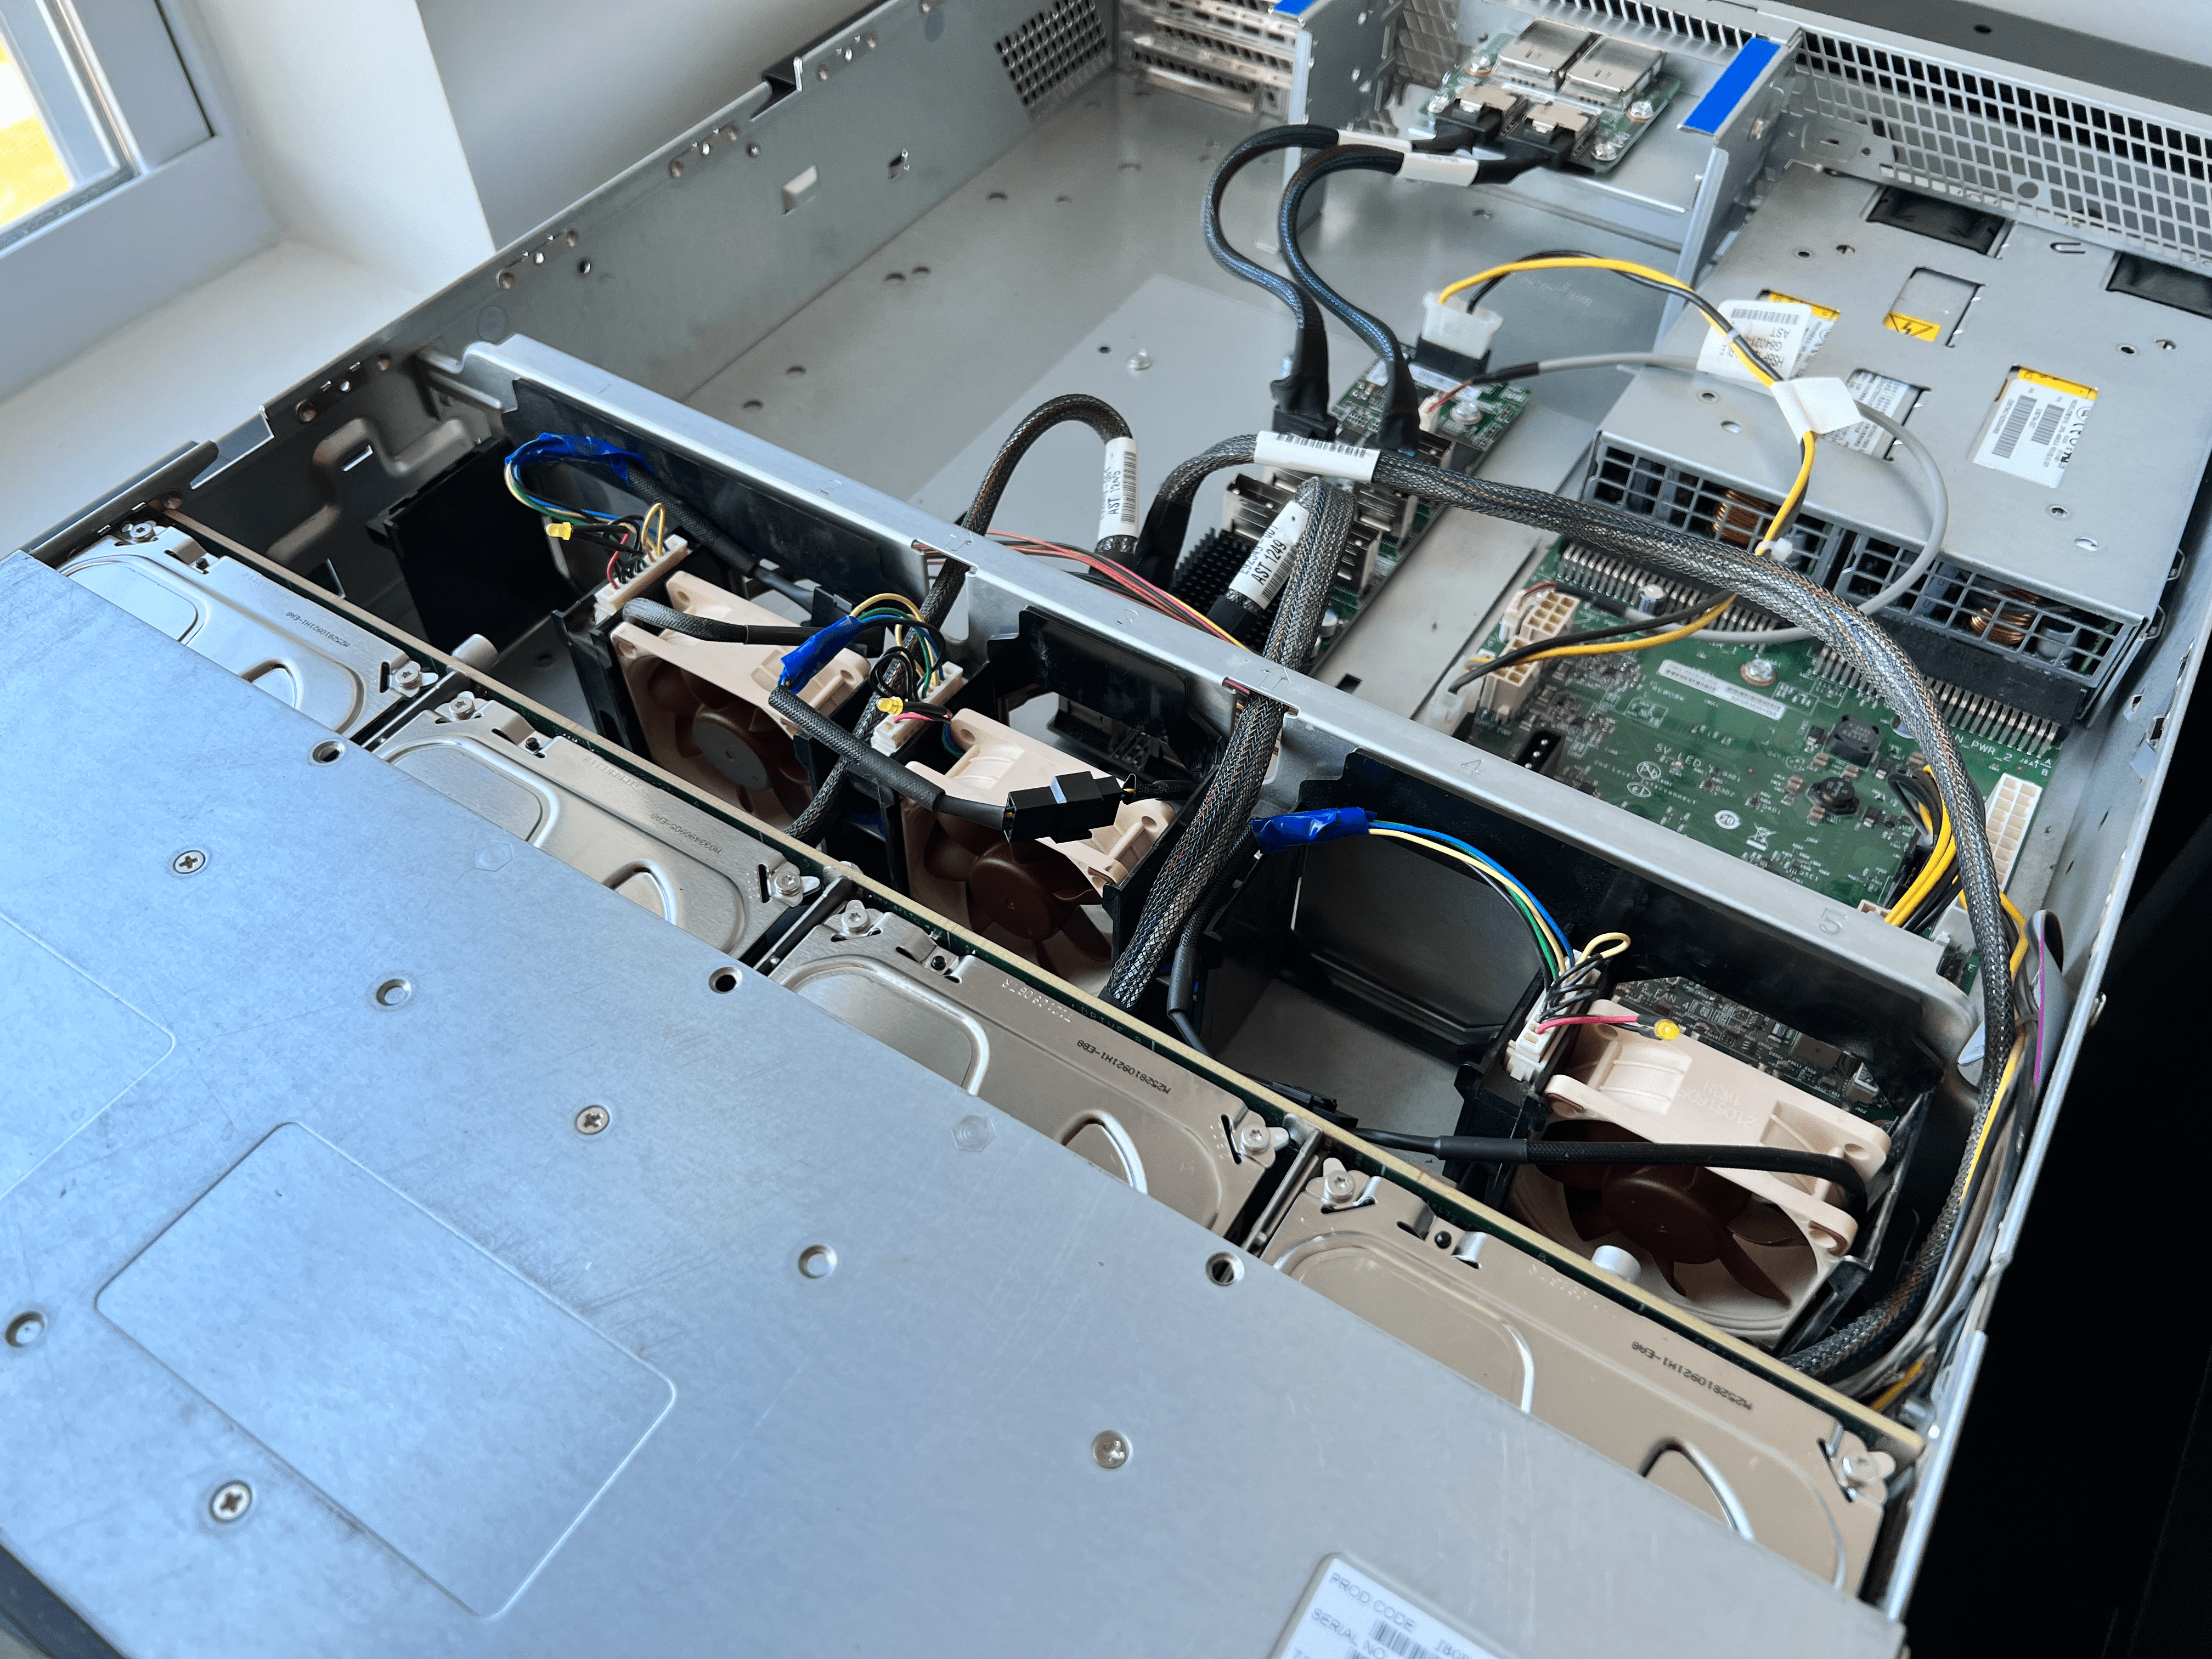
# Loud JBOD
This entire rack is next to my desk, so reducing the amount of noise it makes is pretty important. At idle, the r720xd is suprisingly quiet, whereas the Intel JBOD consistently sounds like a jet engine. So, I grabbed my soldering iron, some wire cutters and three of Noctua’s NF-A6x25’s. It was a relatively painless replacement, and the rubberized feet on the fans gave them a nice friction fit. They have roughly the same size, PWM layout and voltage as the stock Nidec Ultraflo fans. But, they have noticibly less airflow. Fortunately with only four drives in the JBOD they manage to stay nice and cool.
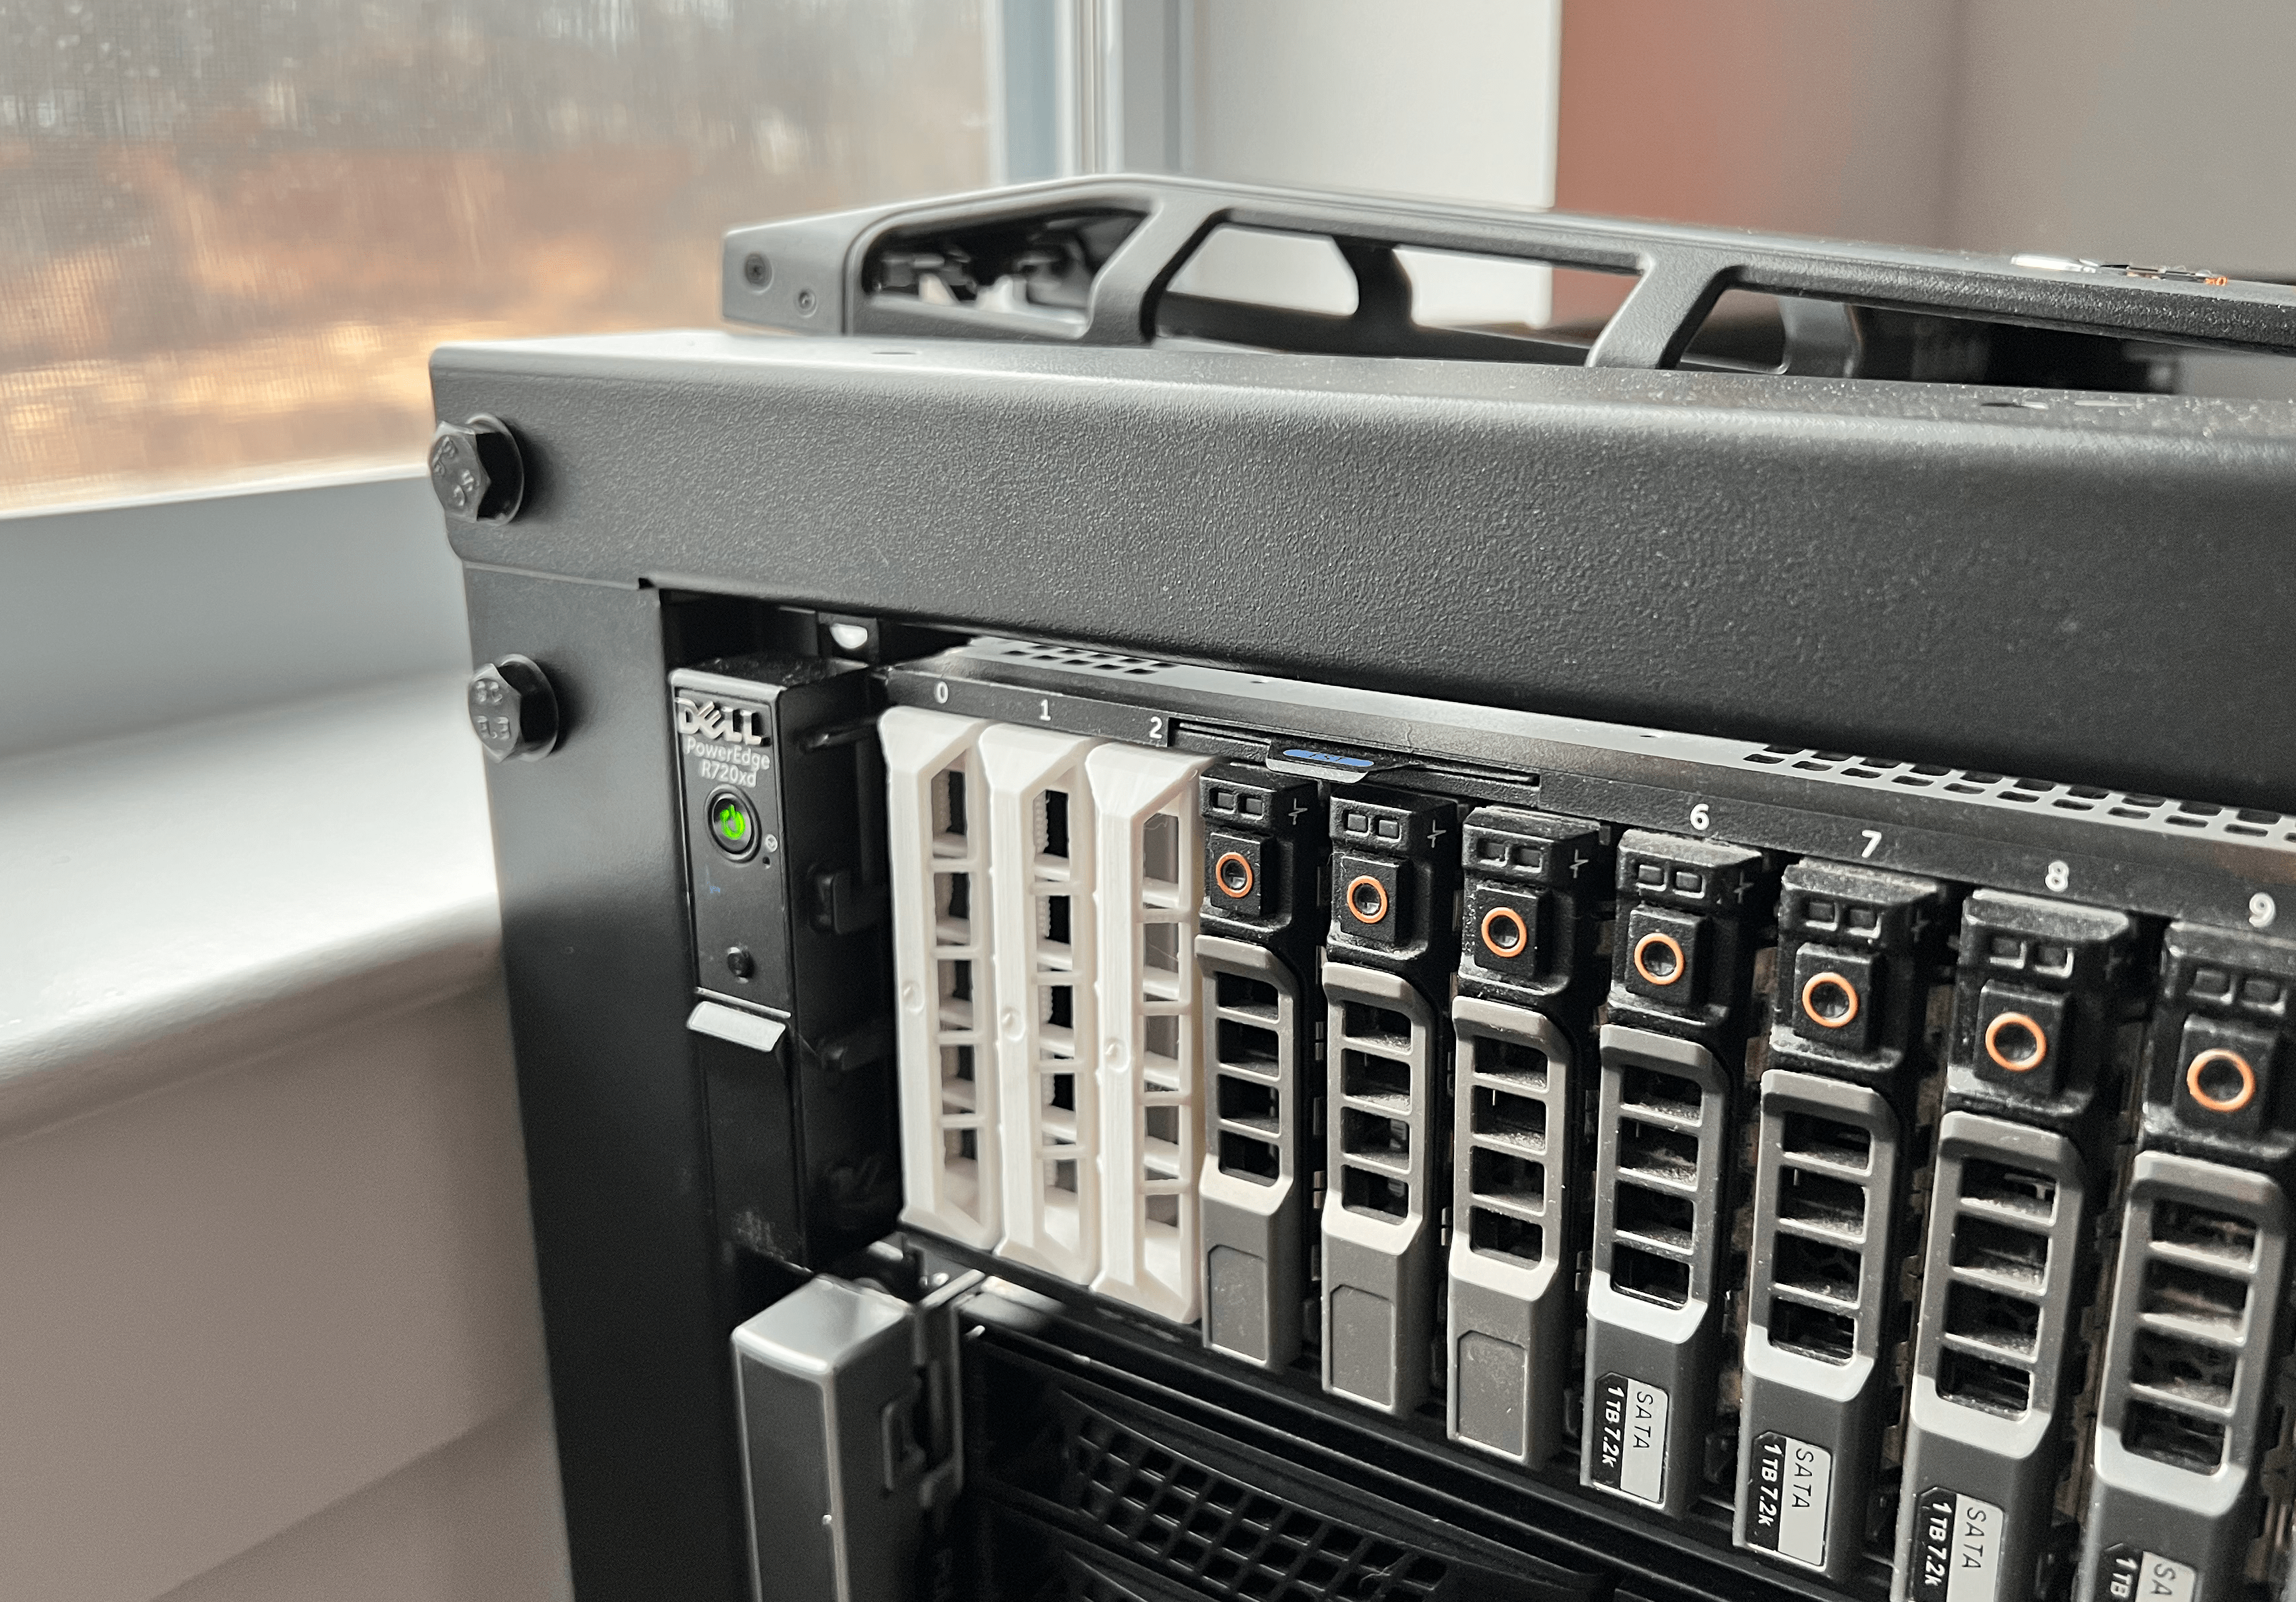
# Drive caddies
I didn’t have any extra of the OEM Dell drive caddies for the three SSDs I’m installing into the poweredge. Luckily, someone on thingiverse made these really sweet models that resememble mini versions of the poweredge. They are sturdy enough to reliably hold the SSDs in place, but I would not recommend them for spinning rust.
# Storage overview
For redundancy, most of the homelab storage will be using ZFS. The YouTube channel Level1Techs has an amazing breakdown on ZFS and software RAID in general.
# NUC
# 1TB SSD - Host OS & Guest VMs
Since storage options are pretty limited in the NUC, it is just using a single 1TB m.2 SSD shared for both the host OS and guest VMs. Eventually, I would like to squeeze add an additional 1TB SATA ssd for mirror ZFS, but this is fine for now. Backups for guest VMs on this single drive will be on network storage.
# r720
# 500GB SSD - Host OS
I’m just using a single 500GB SSD for the host proxmox OS. This drive can be even smaller, but it was what I had laying around. Ideally this would also be a mirrored setup but a single drive is fine for now. In the event of this drive failing, I’ll just swap it out, reinstall OS, run Ansible and/or restore from backups. For me personally, redundacy for the host OS isn’t as critical for the VM guests and network storage.
#
ssd-mirror - ZFS mirror of 2x 1TB Crucial SSDs
These are the fastest drives I have, so all the guest VM disk images will be on here. It’s a mirror, so I can quickly recover from one of these drives failing.
#
rusty-z2 - ZFS RAIDz2 of 11x 1TB Seagate enterprise constellations
This pool is slower, so it’s used for all VM backups from the ssd-mirror pool and the backups from the NUC vm’s over NFS. Note the z2, I have two parity drives in this pool, since these drives are a bit older and have more use.
#
wolves-z - ZFS RAIDz of 4x 4TB Seagate Ironwolf NAS
This’ll be primarily for media storage and other network attached storage. In fact, the entire controller for these disks (the HBA connected to JBOD) will be passed through to the TrueNAS guest. These drives are a nice compromise of speed, capacity and cost. Note the z, this pool has a single parity drive.
# Proxmox setup
# Installation
Proxmox will be installed on both the Poweredge and the NUC. The Pi is going to have a different process since it will only be used for quorum, so it’ll be using Raspberry Pi OS. The Proxmox installer is pretty straightforward, just write the ISO to a USB, boot into the installer, pick a root disk, setup user credentials and set a static IP. Here are some tutorials by awesome homelab YouTube channels:
- TechnoTim: Proxmox VE Install and Setup Tutorial
- Craft Computing: Virtualize Everything! - Proxmox Install Tutorial
After installation, the Proxmox web console is available at https://<host-ip>:8006. For the sake of keeping these machines as pristine as possible, I’m going to attempt to do the bare minimal configuration post-install and then use Ansible to further patches the hosts.
# Next
The base operating systems are configured, but right now they’re independent systems. In the next part, I’ll setup a two node Proxmox cluster with a quorum devices, setup ZFS pools for redundancy and some basic network storage.